Sunday 29 April 2012

Party On Jupiter

Yesterday I did a shoot for a friends and their band, Party On Jupiter. They're a sort of indie/play very long intros, type of band and they've got a nice sorta style so go check out their Facebook Page and give it a like! (PS I also made the banner for their page) 


Right, photo wise we headed to an old abandoned building that Al from the band had told me about, which turned out to be a lot creepier than I imagined. Abandoned and half destroyed orphanages are not my idea of fun. There was rubble everywhere and a few cool spots for photos so when Al finally arrived 3 hours late we headed up to the roof a took some snaps. 
Oh yeah, there was also a very large hole in the roof so I got this shot from below. 


After we'd photographed the shit out of the roof we headed into the building so I could fire off a few frames using my flash. We tried out a few different spots and here's the results with the lighting diagram and setup as well so I don't have to explain it all. 
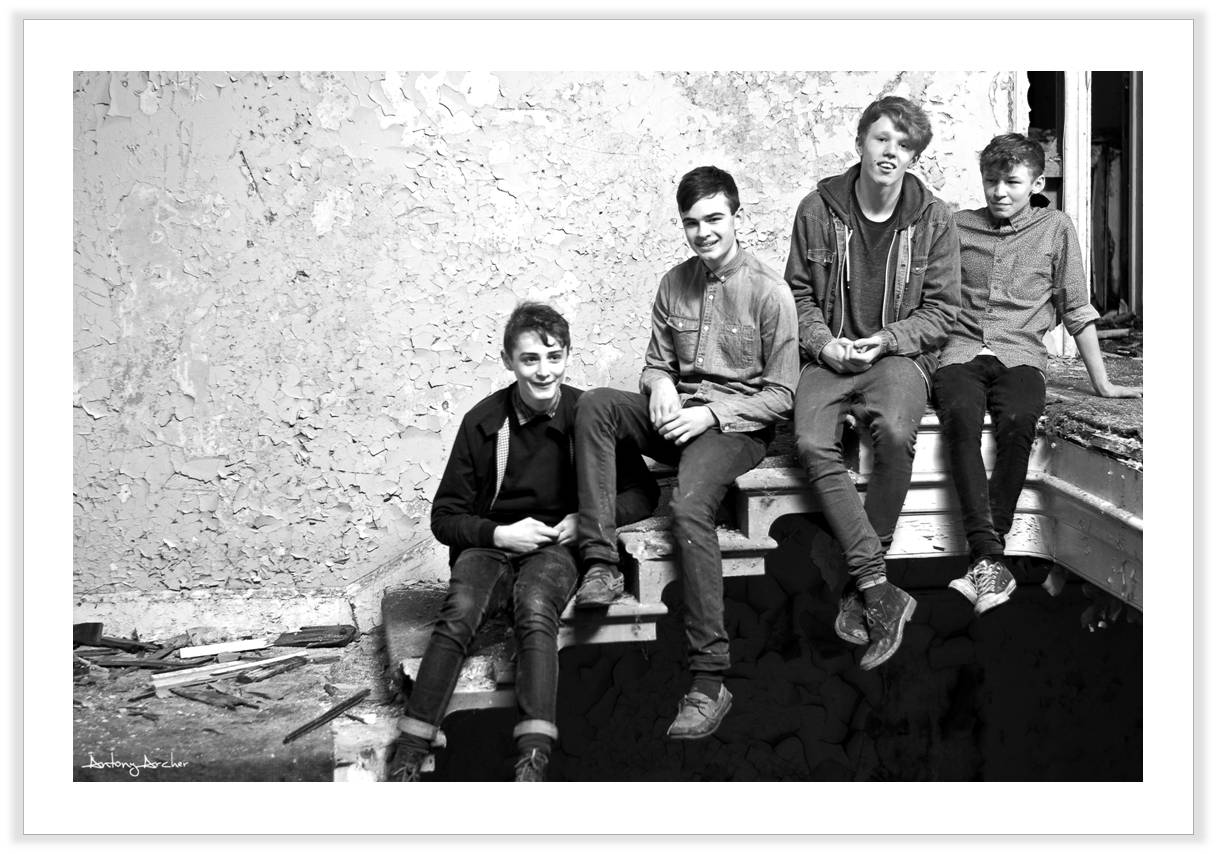
And then the last few pictures were taking in what seemed to be an old dining/living room...
 And finally to finish off here is my favorite image from the afternoon. It's Dylan, the guitarist and singer. I did one of these headshots for each member and you can see them all on the Facebook Page
Thanks for reading, I have a some more shoots planned for the next few weeks so keep checking back! 

Please go give my Flickr a quick browse and comment with       any questions or advice!

Wednesday 18 April 2012

Coffee Check

Yesterday I finally got my new receiver for my RF-602s seeing as my cheap light stand managed to break my last one. Once I got it all set up and working I headed out to the patio to get a quick photo. This was the first time I've used my YN-460II with the triggers as well seeing as the last flash I had also got killed by the light stand. I made sure to duck tape it all up this time 'cause I don't fancy forking out another £50 to replace it all. 

I then spent a good couple of hours making my own lighting diagram/set-up type thing to show where everything was and what I used. So here it is: 
I even made the silhouette using a picture of my camera and lens so it is exactly accurate. I hope you enjoy browsing through this short post and I'll try my best to do this for most of the strobist pictures I do in the future. Thanks for reading. 

Please go give my Flickr a quick browse and comment with any questions or advice!